|
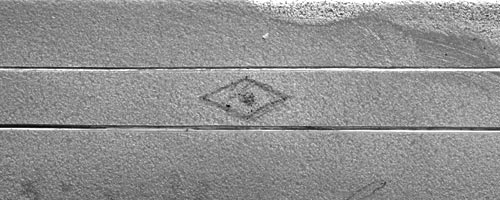
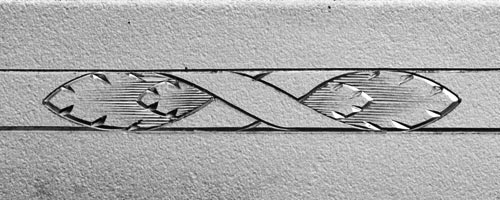
| I begin by engraving my border lines and placing a dot at the center of where the ribbon is to be located. I then draw a diamond shape around the dot. If the diamond is too small, the ribbon will be very thin. |
|
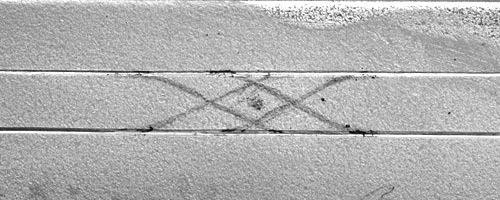
| Using the diamond as my guide, I create the crossed ribbon. Keep in mind that the lines are not stratight, but have a gentle S-shape. |
|
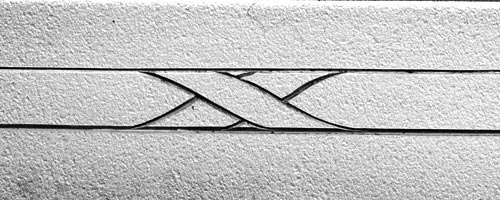
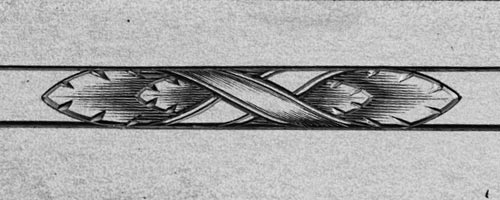
| When cutting the outline, I start my cuts inside the border lines and cut inward. Remember that the lines are curved which will make the ribbon appear to wrap around leaves. |
|
| For this demonstration I'm using a classic running wheat border. There are a number of decorative borders which you can use with the crossed ribbon, and I encourage you to experiment. |
|
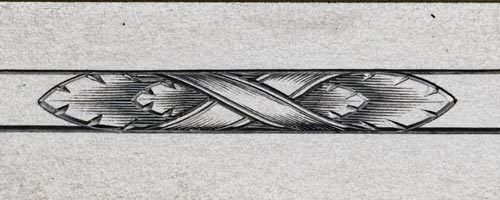
| Now that the leaves are cut, border lines are engraved on the ribbons. Also, the small triangular background areas at the top and bottom of the ribbon are darkened with a few horizontal cuts. |
|
| The top ribbon's top half is shaded from right to left. Note that the shade cuts start long at the right and get shorter toward the left. I then flip the work around and repeat the process on the bottom portion of the top ribbon. |
|
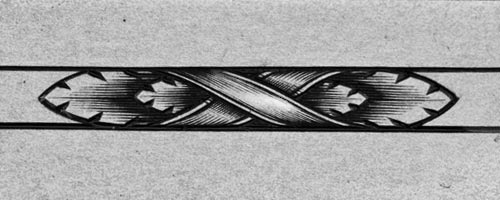
| Portions of the lower ribbon are shaded near the borders. |
|
The final shading is cut where the ribbons cross and a bit of crosshatching is applied. I should add that this example is 3mm high and has been blackened.
All work done with a GRS GraverMach and Monarch handpiece.

|